What We Have Covered in This Article
Last Updated on January 27, 2017 by Editor Futurescope
The technology advances very fast and in the computer science even more. Today we have hardware that we would not even have thought could exist.
SSD drives are part of this revolution and that’s why many users are wondering how to clone an HDD to an SSD, which is a task that you will see is somewhat complicated, but you can do knowing the right steps.
What you need to know about SSD drives
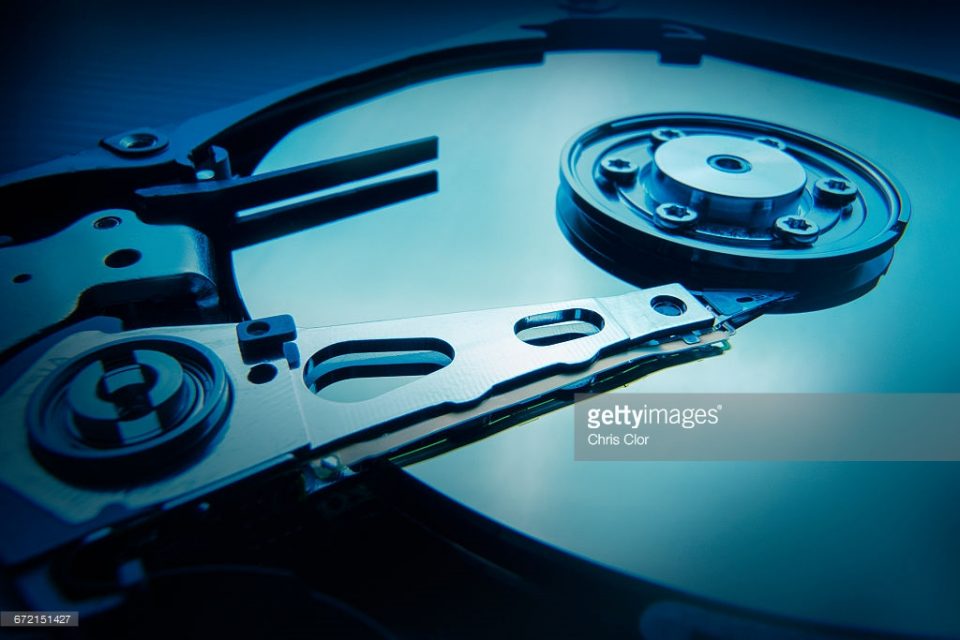
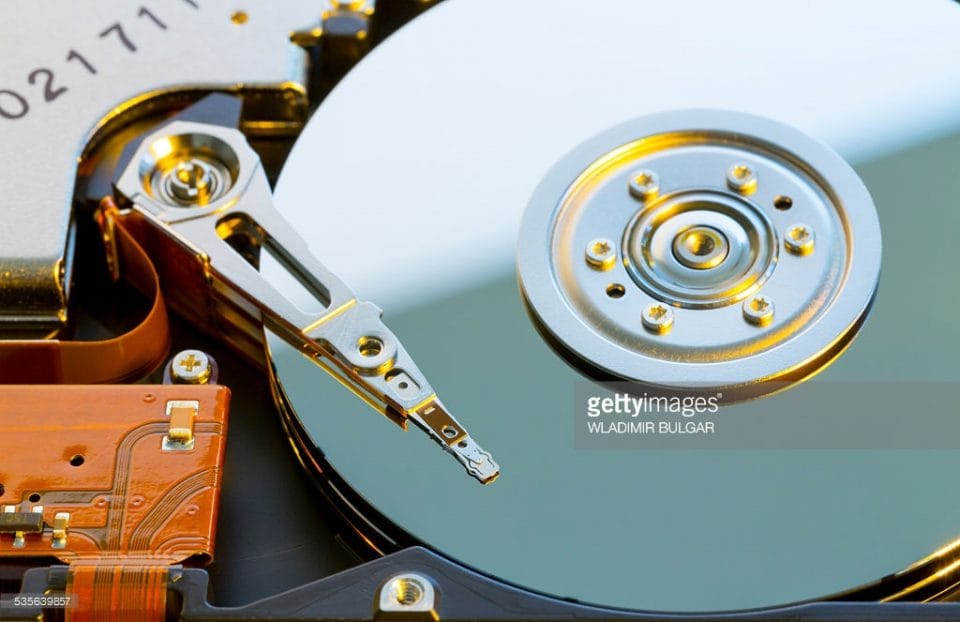
An SSD has the same function as an HDD, with the advantage that it does not have a mechanical system that can be damaged over time, but it is a plate that contains memories inside, as if of small SD memories It is, that, although it suffers a wear, generally the failures are usually electrical and therefore have a shorter life cycle.
And above all the biggest advantage is that it is infinitely faster than a HDD hard drive, the hard drive has been the last component of a computer to go from being mechanical to Digital. If you still have an HHD hard drive, I strongly recommend you replace it with an SSD, it’s just like buying a new computer. The only one that has is that it is much more expensive than the HHD, so it is advisable to have an SSD of about 128 GB or 256 GB to install the operating system and the programs you use most.
So, an SSD is best used for the operating system and the programs you use most, to achieve a good boot speed. To store large amounts of information, it is better to use a mechanical disk, because they are cheaper, even if they are slower.
Clone an hdd to an ssd
Optimize the system
The reality is that if we wanted we could clone an HDD disk into an SSD without more, but the success rate would be lower, so before starting the data migration, we must perform a series of steps.
The ideal thing is to perform a complete system maintenance, where you use utilities like BleachBit to clean temporary files, invalid system entries, etc., it would also be good to pass an antivirus and defragment the file system.
These tasks will speed up the process, but if you have a short time, at least use a disk defragmenter to optimize the Windows partition, which is the one you are interested in moving to the SSD.
You may also be interested in our article about formatting a Windows 10.
Perform a data backup
While cloning an HDD to an SSD should not have any disadvantages if done correctly, it is advisable to back up the most important data, which, if something fails, at least do not lose the data and you can start other Recovery tasks such as installing the system directly on the SSD.
Align SSD Partitions
This step is very important and you should not forget it, because if you do, you can migrate the system, but you will not have the performance you expect from the SSD. There is a difference in the free space that must be left before starting the first partition, in the common disks it can be 63 empty blocks, whereas in the SDD it must be 64 empty blocks, so it is necessary to align the SSD, before to clone the disks.
Align SSD partitions from Windows
Having the two disks connected, you should start the Windows console by pressing the Windows + R keys, to start the execute box, and type “cmd” (without the quotation marks).
While on the console, you must type the following commands.
Diskpart
List disk
Select disk X (OJO: X is the number that identifies our SSD in the displayed list)
Create partition primary align = 1024
Active
What you do with this, is to start the utility of Windows disks; List the disks; Select the SSD; And then create a primary partition with an alignment of 1024K, i.e. 1MB, which is the most common alignment, although it can be aligned in 2048K or 4096K; Then it is marked as active, i.e. as a partition that has the system boot system.


Align SSD partitions from boot
Another option you can use is to start the system with a Windows 7 disk and choose the repair option -> choose the system -> go to command prompt and then execute the commands we saw before. The procedure is similar, but if for some reason you cannot do it in Windows, you can test it from system startup.
Start the cloning process
You already have the system ready to start the migration and for this we are going to use a free solution, although we are going to name others that are of payment and that help you with assistants step by step.
The utility we will use will be Clonezilla, which is a utility that allows you to clone disks. In order to use it, you need to create a bootable disk, which you can download the Clonezilla image and burn it to a CD or DVD or even create a bootable USB with the instructions you have on the web, then you must configure the BIOS to boot from The CD drive or from the USB.
The cloning process is simple, once Clonezilla is started, choose the device-device option, and the beginner mode mode, then select disk to local disk, and you must select the source disk (hdd) and the disk. Destination (ssd) and ready, the cloning process will begin.
Once it is finished, you can either remove the boot device, be it the USB memory or the disk, reboot the system and choose the boot drive from the SSD in the BIOS.
Possible problems and their solution
Like any procedure, it is not exempt from errors, although most can be solved in one way or another.
Cloning errors
If for some reason the cloning process stopped, you should not worry, what you should do is pay attention to the error message you got to see the cause, although generally it is usually due to problems with the partitions and file system, at Not perform the optimization that we said above, especially the defragmentation.
The system does not start
Another common problem when cloning a disk is that Windows does not start and it throws an error related to the MBR, which has solution and is not complicated.
To recover the MBR you must start the system with a Windows disk, choose the repair option -> choose the system -> go to the command prompt and type the following commands:
bootrec.exe / fixmbr
bootrec.exe / fixboot
If these do not work, try this:
bootsect / nt60 ALL / force / mbr
What to do after cloning an HDD to SSD?
Once you are in the system, you should check that everything works as you expect. Basically see if all the files are in place and see if the programs work correctly
The good thing about this process is that you will notice an increase in overall speed and it will no longer be necessary to defragment the disk since, unlike HDDs, SSDs can access data at any point in an instant. Whereas the HDD You need to move your head to access remote (fragmented) data.
We hope this tutorial has helped you to migrate your HDD to an SSD. If you have any questions, leave a comment.


