What We Have Covered in This Article
Last Updated on May 8, 2023 by Editor Futurescope
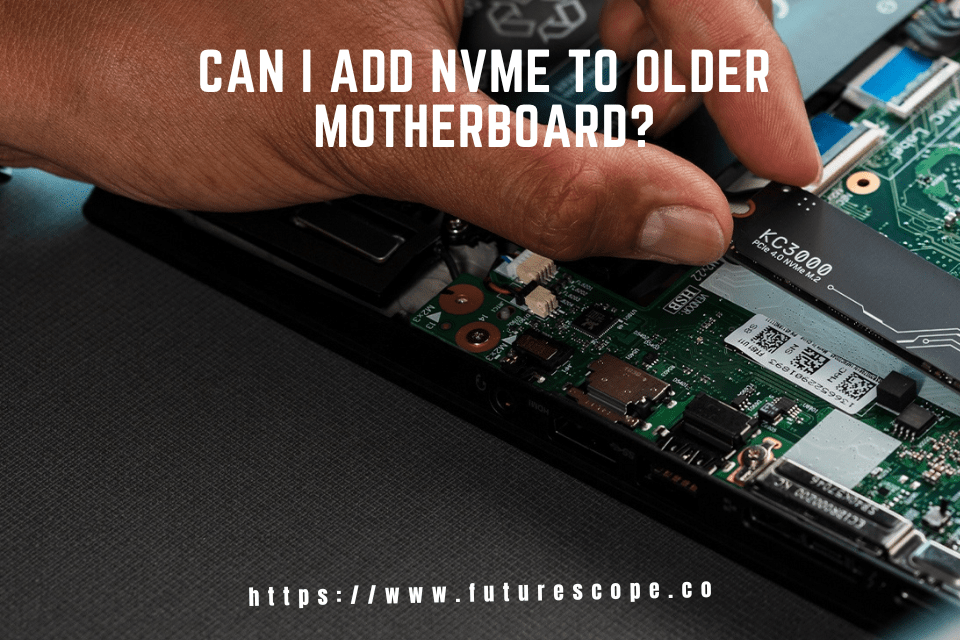
If you have an older motherboard and are wondering if you can add an NVMe drive, the answer is yes! You can upgrade your motherboard to support NVMe drives with a few simple steps. First, check your BIOS version.
If you have a BIOS version that’s earlier than 2.0, you’ll need to update it in order to add support for NVMe drives. Next, purchase a PCIe adapter card that supports NVMe drives. Finally, install the drive into the adapter card and connect it to your motherboard.
With these simple steps, you can easily upgrade your old motherboard to support NVMe drives!
- Check your motherboard’s manual to see if it supports NVMe drives
- If it does, proceed to the next step
- If not, you will need to upgrade your motherboard in order to use an NVMe drive
- Purchase an NVMe drive and appropriate PCIe adapter card (if necessary)
- Install the PCIe adapter card into an available slot on your motherboard (if necessary)
- Connect the NVMe drive to the PCIe adapter card (if necessary)
- Install any required drivers for the NVMe drive and restart your computer
- Your computer should now be able to boot from the NVMe drive!
Will It Work? Installing An NVME SSD PCIe Adapter Into An Old Motherboard
Does Old Motherboard Support NVMe?
NVMe (Non-Volatile Memory Express) is a newer type of storage technology that offers a number of advantages over older technologies like SATA. One of the biggest advantages of NVMe is its high speed; it can theoretically be up to four times faster than SATA. This means that if you have an NVMe drive, your computer will be able to access and store data much faster than with a SATA drive.
However, not all motherboards support NVMe drives. In order to use an NVMe drive, your motherboard must have an M.2 slot that supports PCIe 3.0 (or higher). Most newer motherboards should have this, but if you’re using an older motherboard, it’s worth checking to see if it’s compatible before buying an NVMe drive.
How Do I Connect NVMe SSD to Old Motherboard?
If your motherboard does not have an M.2 slot, you can still use a NVMe SSD with an adapter card. There are a few different types of adapter cards available, but they all function in essentially the same way. The first thing you need to do is purchase an appropriate adapter card.
Make sure to get one that supports both PCIe and NVMe, as not all adapters do. Once you have the card, install it in an open PCIe slot on your motherboard. Then, connect the SSD to the adapter using either an M.2 to PCIe x4 cable or an M.2 to SATA cable.
If your SSD has a heatsink, make sure that it is properly installed before continuing. Once everything is connected, boot up your computer and enter the BIOS/UEFI settings menu. In here, you will need to enable NVMe support if it is not already enabled (it may be under a section labeled “Storage” or something similar).
Save your changes and exit the BIOS/UEFI menu; at this point, Windows should detect and install drivers for the new hardware automatically. Finally, open up Disk Management (you can search for it in the Start Menu) and initialize the new drive so that you can start using it!
Can I Install NVMe SSD on Old PC?
If you’re looking to upgrade your PC with a faster Solid State Drive (SSD), you may be wondering if you can install an NVMe SSD on an older computer. The answer is yes, but there are a few things to keep in mind before making the switch. First, check your motherboard’s compatibility.
Most newer motherboards will have an M.2 slot that supports NVMe drives, but older boards may only support the slower SATA interface. If your board doesn’t have an M.2 slot, you’ll need to use a SATA-to-NVMe adapter card like this one from StarTech. Second, make sure your BIOS is up to date.
Many early NVMe drives had issues with older BIOSes, so you’ll want to make sure yours is up to date before making the switch. You can usually find updates on your motherboard manufacturer’s website. Finally, keep in mind that installing an NVMe SSD will require a fresh installation of Windows (or your operating system of choice).
So make sure you have a backup of all your important files before proceeding. Once you’ve checked those three things, installing an NVMe SSD should be pretty straightforward. Just insert it into your motherboard’s M.2 slot and boot up from a USB drive or disc with your OS installer on it.
Follow the prompts and select the new drive as your install destination and you should be good to go!
Is NvVMe Compatible With Any Motherboard?
Yes, NVMe is compatible with any motherboard that has an M.2 slot.
The Nvme Ssd slot on a motherboard is designed to provide high-speed storage for computers. It uses the PCIe interface and is much faster than a regular SATA SSD. If you have an Nvme SSD, you will need to make sure that your motherboard has an Nvme slot.
Most newer motherboards do, but some older ones may not. You can usually find out by looking at the specifications for your motherboard online. If you are looking to upgrade your computer’s storage, an Nvme SSD is a great option.
It will significantly improve your computer’s performance. If you have an older motherboard that doesn’t have an Nvme slot, you can buy an adapter that will allow you to use an Nvme SSD in a regular PCIe slot.
Does My Motherboard Support NVMe?
If you’re wondering whether your motherboard supports Nvme, the short answer is probably yes. Most modern motherboards support Nvme, which is the newest specification for solid state drives. However, there are a few things to keep in mind when determining whether your particular motherboard model supports Nvme.
First, check the specifications of your motherboard to see if it explicitly states that it supports Nvme. If it does, then you’re all set and can go ahead and purchase an Nvme drive. If not, don’t fret just yet – there’s a good chance that it still might support Nvme.
Next, take a look at the connectors on your motherboard. If you see an M.2 slot, that’s almost certainly compatible with Nvme drives (though double-check the specifications to be sure). Some older motherboards might have an older type of M.2 slot that isn’t compatible with Nvme drives, so again – check those specs!
Finally, even if your motherboard doesn’t have an M.2 slot, it might still support Nvme via an adapter card. These aren’t too expensive and can be easily installed into any PCI Express slot on your motherboard. Once again though – check compatibility before buying anything!
So there you have it – everything you need to know about determining whether or not your motherboard supports Nvme drives. With most modern models supporting this latest standard out of the box, it shouldn’t be too difficult to find a compatible option for yourself. Good luck!
Boot from NVMe Without Bios Support
If you want to install an operating system on a computer that doesn’t have BIOS support for NVMe drives, you can still do it by using a bootable USB drive. This process is a little more complicated than simply installing from a DVD or CD, but it’s not impossible. Here’s how to do it:
1. Download the operating system installation files onto your computer. Make sure to get the correct version for your computer’s architecture (32-bit or 64-bit).
2. Create a bootable USB drive using these files. There are many ways to do this, but one of the easiest is to use the Rufus software program.
3. Once you’ve created your bootable USB drive, insert it into your computer and boot from it. The process will be different depending on your computer’s make and model, but typically you’ll need to press a key during startup (usually F12) to access the boot menu and select your USB drive as the boot device.
4. Follow the prompts during setup to install the operating system onto your NVMe drive. That’s all there is to it!
Conclusion
Yes, you can add an NVME drive to an older motherboard, but there are a few things to keep in mind. First, your motherboard will need to have an available PCI Express slot. Second, you’ll need to make sure that your BIOS is up-to-date; if it’s not, you may need to update it before you can use the NVME drive.
Finally, keep in mind that adding an NVME drive will likely decrease your overall system performance due to the added bottleneck.


